Home theater takes the cinema experience to your home. Still, for many people, a home theater setup is a daunting prospect. It can, however, be relatively stress-free if you follow the right set of guidelines. Consider home theater equipment connections as roads or channels that transport products from a manufacturer to a distributor. The beginning points are cable boxes, video streamers, and Blu-ray players, while the endpoints are the television and loudspeakers. It’s your responsibility to bring audio and video signals from their respective source components to your sound system and video monitor. The experience for a home theater setup for small room is similar to a setup for a much bigger house.
Connecting Components in a Home Theater
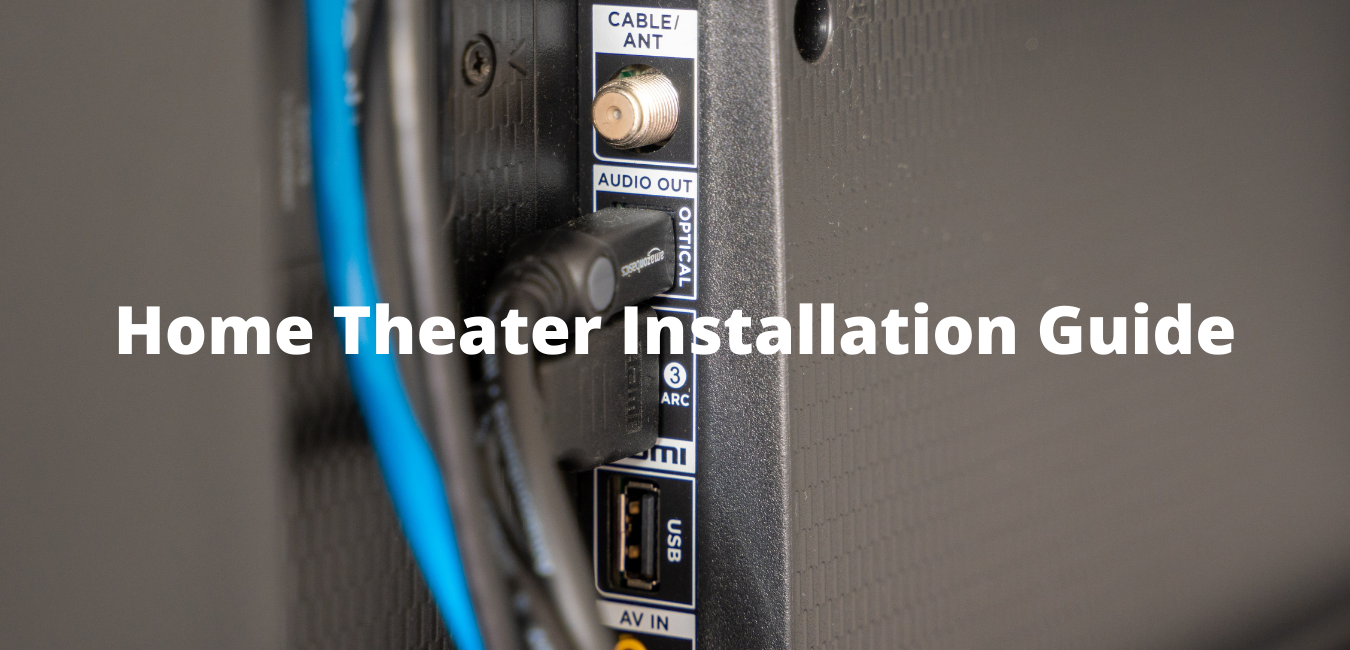
A TV, AV receiver, Blu-ray or DVD player, and media streamer are all standard components of a simple setup. For 5.1 surround sound, you’ll need at least five speakers and a subwoofer. Most source connectivity and switching and all audio encoding, processing, and amplification to power your speakers are done by the home theater receiver. The home theater receiver can manage the bulk of audio and video elements.
Sending Video to the TV from the Home Theater Receiver:
Connect the TV display output of your AV receiver to one of your TV’s video inputs. (Ideally, this relation would be HDMI, as it is the most straightforward and reliable for most systems.) This allows you to see footage from all of the video source devices linked to your home theater receiver on your TV screen. The AV receiver must be switched on, and the right source input on your television must be picked.
Audio from the TV is sent to the Home Theater Receiver in the following way:
Connecting the TV’s audio outputs (if it has them) to the TV or Aux audio inputs on your AV receiver is one way to get sound from a TV to a home theater. If your TV and receiver both have this feature, another alternative is to use Audio Return Channel (HDMI-ARC). You can watch sources connected directly to the TV and listen to stereo or surround sound audio via your home theater device using either tool.
Screen Projection or Television
– Link the antenna directly to your TV if you receive TV programs via antenna.
– Make sure your Smart TV is still linked to the internet if you have one.
– Attach the incoming cable to the box if you get your programming from a cable or satellite box.
To link your cable or satellite box to your TV and the rest of your home theater device, you have two options:
– Connect your box’s audio/video output to your TV directly.
– Connect the box to your receiver and send the signal to your television.
Players for Blu-ray Disks, DVDs, CDs, and Records
Whether your home theater receiver has HDMI connections and can access both audio and video signals via those connections will determine the connection configuration for a Blu-ray or Ultra HD Blu-ray Disc player. If that’s the case, connect the player’s HDMI output to the receiver, then the receiver to the TV.
Suppose your home theater receiver only supports HDMI pass-through. In that case, you can need to link the player and receiver with additional analog or digital audio (optical or coaxial) cables. If you have a 3D Blu-ray disc player or a 3D TV, you have more connection choices to consider.
Link one of the DVD player’s video outputs to the AV Receiver’s DVD video input for a DVD player. Use the HDMI output if your DVD player has one. If your DVD player doesn’t have an HDMI output, use another video output (such as component video) and a digital optical/coaxial cable to connect the player to your AV receiver.
Use the analog or digital audio outputs on your CD or record player to connect to your AV receiver. If you have a CD recorder, use the Audio Tape Record/Playback input/output loop connections to link it to your AV receiver (if that option is available).
Streaming Media Player
Make sure your video streamer is linked to the internet, such as a Roku, Amazon Fire TV, Google Chromecast, or Apple TV. You can attach the streamer to your TV in two ways, both using HDMI, to view streaming content from these devices on your TV:
– Directly connect to the television.
– Link to the home theater receiver directly, which is then redirected to the screen.
Connecting and Positioning Your Subwoofer and Speakers
Any home theater installation is incomplete without a nice sound setup. Place and attach the speakers and subwoofer to complete your home theater setup. Place your speakers and subwoofer first, but make sure they aren’t flush against the walls. Find the best place for all of your speakers, including the subwoofer, using your ears or following this guide.
– Attach the AV receiver to your speakers. Ensure the speakers are wired to the correct channel and that the polarity is right (positive and negative – red and black).
– Attach your subwoofer to the AV receiver’s subwoofer line output.
Use the built-in test tone generator, room correction, or automatic speaker setup systems that can come with your receiver to customize your speaker setup further. This mission may also be supported by the use of a low-cost sound meter. Even if your receiver has an automatic speaker setup or room correction system, using a sound meter for manual adjustments is a good idea.
In a square or slightly rectangular space, a 5.1 or 7.1 speaker setup will suffice. Other room shapes and acoustical factors can require you to change your placement.
Final Thoughts
This guide walked you through the home theater system setup planning and laid down the execution steps. The number and types of components you have, as well as the size, shape, lighting, and acoustical properties of your room, all influence the degree, combinations, and connection choices.
Here are a few more pointers to make your setup go more smoothly:
– Carefully read all of your components’ owner’s manuals and diagrams, paying particular attention to the relationship and setting choices.
– Make sure you have the proper audio, video, and speaker cables in the correct lengths. Consider using a label printer to quickly mark your cables and wires if you need to make adjustments during the link phase.